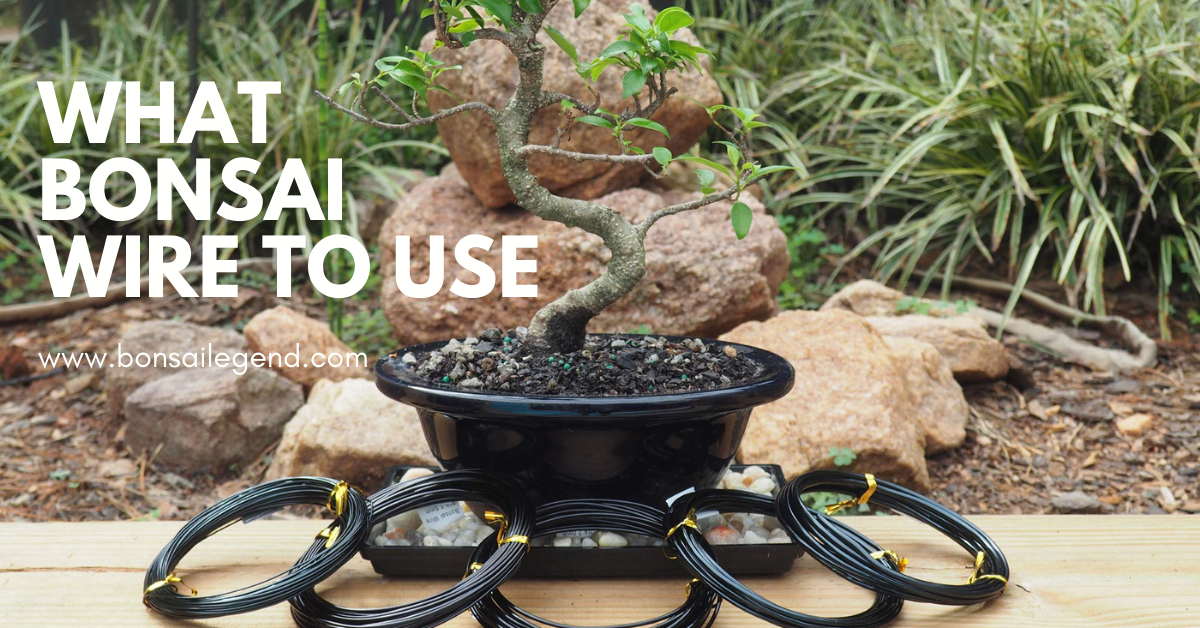
It is essential to use the right material for wiring Bonsai trees and there are basically two types of wire which can be used: anodized aluminium and annealed copper.
“In bonsai, we erase with the scissors and draw with the wire.”
Master Kunio Kobayashi
The above quote beautifully captures the importance of wiring when it comes to cultivating a bonsai and one of the most asked questions when bonsai enthusiasts consider wiring their creations is: which wire to use.
When it comes to the type of wire there are some simple dos and don’ts, do use either Aluminium or Copper wire and do not use either Ferrous (wire containing iron) or plastic-coated wire.
Why not use Steel Wire or Plastic Coated?
You would not want to use a Ferrous wire such as steel because it is far too rigid and when it weathers it ends up rusting and this oxide will leave ugly stains on the bark as well as being toxic to the plant. Likewise, plastic-coated wire is not recommended because of the price and their striking colours making them too visible on the tree detracting from the natural beauty.
So, should you use aluminium or copper Wire?
Aluminium wire is the best to start with because it is easy to work with and apply, it also does not lose flexibility with its exposure to the elements, which is why it is used in most Bonsai wiring techniques. You may come across silver or black Aluminium wire, but both are the same.
On the other hand: Copper wire, whilst initially also very flexible, becomes very hard losing all malleability once attached to your bonsai and exposed to the elements such as the sun, water, air etc… Whilst this can be used to your benefit by providing superb holding power, it can cause problems for the beginner.
Copper wire is commonly used in conifers as these trees grow stronger in shorter periods of time putting more pressure on the wiring. So, when coniferous growth explodes with such force, the copper wire resists it perfectly and keeps the branches in position.
What thickness of wire should you use?
Both copper and aluminium wire, is available in a wide range of different thicknesses, ranging from 1 to 8 mm. It is not necessary to buy all the calibers available; With 1mm, 1.5mm, 2.5mm and 4mm thick wire is perfect to start with.
A common theory amongst Bonsai enthusiasts is that your wire should be 1/3 of the thickness of the branch. That is, if the branch is 1 cm thick, the wire should be around 3 mm thick. However, this suggestion has one glaring error: assuming all wood has the same hardness and elasticity. Which, we know, is not true.
You can have a 1 cm thick branch of a Duranta and a Juniper, and whilst both the same thickness they do not have the same hardness or the same elasticity. In this case, due to the flexibility of the Juniper branch, it is quite possible to use a thinner wire for the Juniper whilst a thicker wire will be required for the Duranta.
A better method to selecting the correct thickness of your wire is suggested by Bonsai enthusiast Luis Alejandro Herrera, this simple method is outlined here:
- Take a length of wire and hold it in your hand as if it were a pencil.
- Push the wire on to the branch you are wanting to shape, this will result in one of two things:
- When pressing on the branch with the wire, the wire bends whilst the branch stays still. Thus, indicating the wire is too thin, and you should choose a thicker one.
- Or the branch moves, and the wire does not bend indicating you have chosen the correct thickness.
With this simple technique you can select the appropriate thickness of wire in accordance with the hardness and elasticity of the branch you want to wire.
Bonsai Legend tip:
When wiring thick branches or creating sharp bends it is traditionally recommended to first wrap the branch with raffia, which will protect the branches and avoid damaging them whilst giving the desired shape.
An alternative to using raffia, which can be sometimes difficult to source, is to use ordinary black insulation tape. When applying the first layer of tape face the sticky side outwards so the adhesive does not stick to and damage the bark of the branch, you can then apply a second layer with the sticky side inwards.
This results in a strong level of protection using a cheap and easily available material, providing an easier application and removal than Raffia.

